Table of Contents
Spherical Tesseract Shape in Adobe Illustrator
A tesseract is four dimension shape. Today you will learn to create Spherical Tesseract Shape in Adobe Illustrator.
Launch Adobe Illustrator and create a new document. Now follow the below steps-
Step 1
With the help of Polygon Tool draw the shape as shown in the below image.
Now we will add this shape as a symbol in the Symbols Panel.
Go to the Menu Bar and click on Window. Now select Symbols to open the Symbols Panel.
After opening the Symbols Panel, press Ctrl + A to select all the shapes. Now drag the selection into the Symbols Panel to add it as a symbol.
When you will drag the shapes into the Symbols Panel and release the mouse click, a Symbol Option dialogue box will appear on the artboard. In that dialogue box, you can give a name to your symbol.
Click OK and the shapes will be added as a Symbol.
Step 2
Now put those shapes aside and select the Ellipse Tool. Draw a circle on the artboard.
I have filled the circle with color code # 55050c.
Now select the Direct Selection Tool and click on the left-hand side anchor point of the circle.
Hit Backspace on your keyboard to delete this anchor point. Your circle will get transformed into a semi-circle.
Step 3
In this step, we will transform our semi-circle shape into a 3D sphere.
Let the semi-circle shape be selected. Now click on Effect in the Menu Bar. Place the cursor on 3D and select Revolve.
3D Revolve Options dialogue box will appear on the artboard. In that dialogue box, put a checkmark on Preview. Your semi-circle will get changed into a 3D sphere.
Also, change the Surface from Plastic Shading to Diffuse Shading.
Step 4
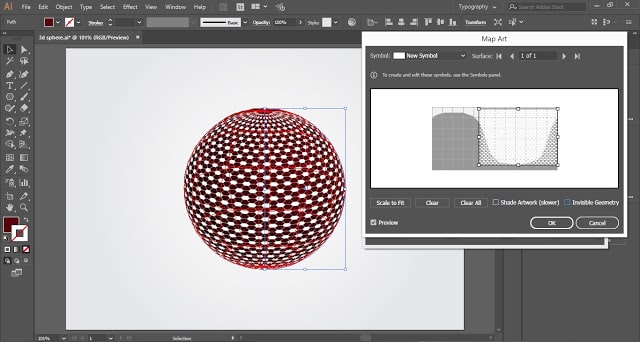
Now click on Map Art in the 3D Revolve Options Dialogue Box.
In the Map Art, the dialogue box clicks on the drop-down button and select the new symbol added.
Set the symbol on the graph in the Map Art dialogue box. With the help of the Preview option, you can set the symbol accordingly.
Click OK.
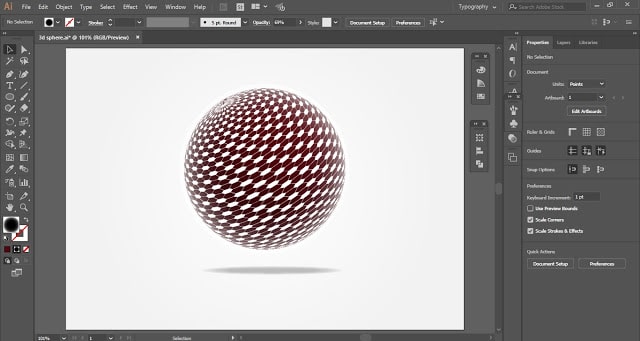
The Spherical Tesseract Shape is ready.
Practice this Spherical Tesseract tutorial and share your views in the comment section. Also, share this Illustrator tutorial with others.


